How to apply custom cut grip tape
 Grip shown: Cube
All right! Time to up them stencil skills and get that custom grip job done! Depending on the complexity of the grip design you can expect to spend 1 to 3 hours or more to complete. But who cares! We're talking about self expression here. Plus being creative is meditative and good for you. Together, we'll take you through the whole process from printing the stencil, prepping the grip, and applying it to your deck.
Note: If you want, you can skip ahead to the step that you're starting at. For example if you bought pre-cut grip from us, skip to "ApplyApply the grip". If you bought stenciled grip from us skip to "CutCut the grip. We recommend checking out all steps to give you a better sense of how everything goes together.
- Materials list
- Grip tape
- PDF Stencil
- Hobby knife or X-Acto Knife (sometimes we use electric scissors)
- Utility knife
- Safety check
- Knives are sharp and dangerous
- Get help if you're not confident in your knife skills or get pre-cut grip from us
- Machete Grip is not responsible for any injuries
Prepare the stencil
Note: if you've purchased pre-stenciled grip from us, then go ahead skip to "Cut the grip". If you purchased pre-cut grip from us, you can skip to "Apply the grip".
- Print tiles (use Adobe Reader to print poster tiles)
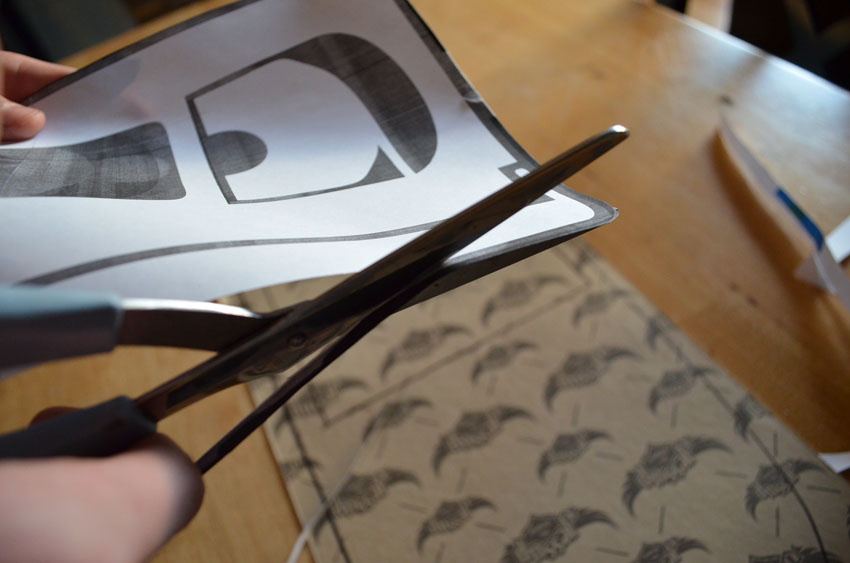
- Trim and assemble tiles
- Cut stencil out of tiles
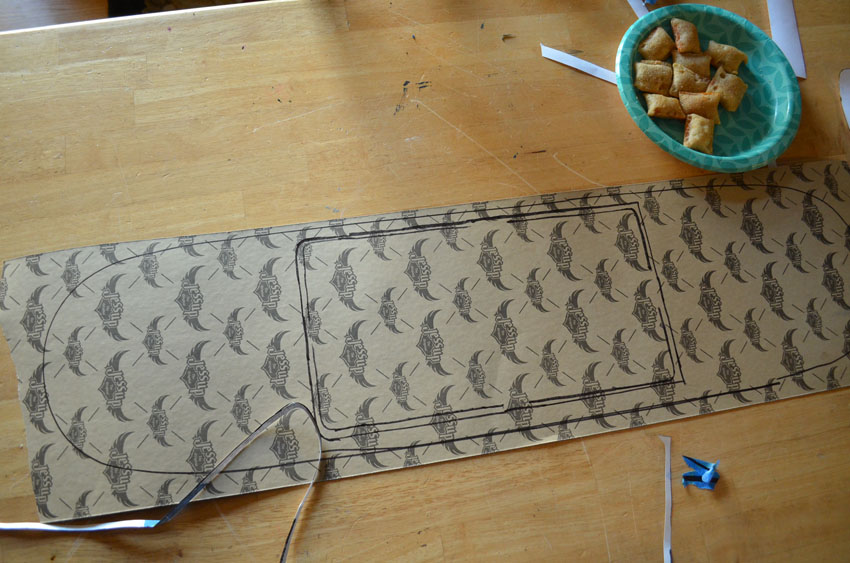
 We'll use our Tape stencil as an example.
Prepare the grip
Note: if you've purchased pre-stenciled grip from us, then go ahead skip to "Cut the grip". If you purchased pre-cut grip from us, you can skip to "Apply the grip".
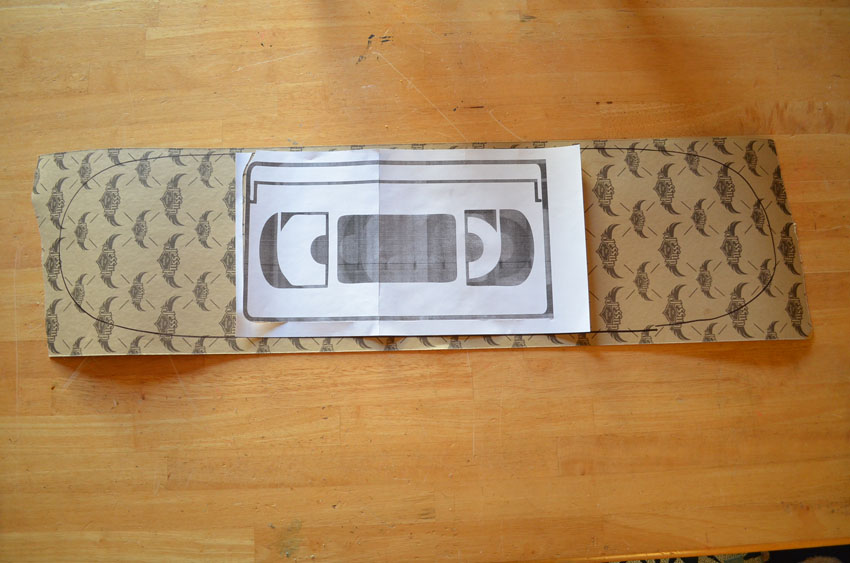
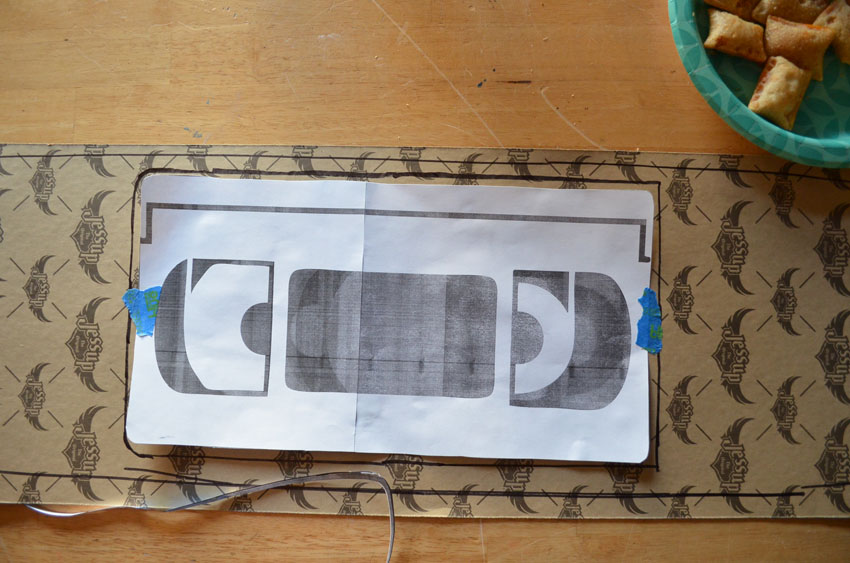
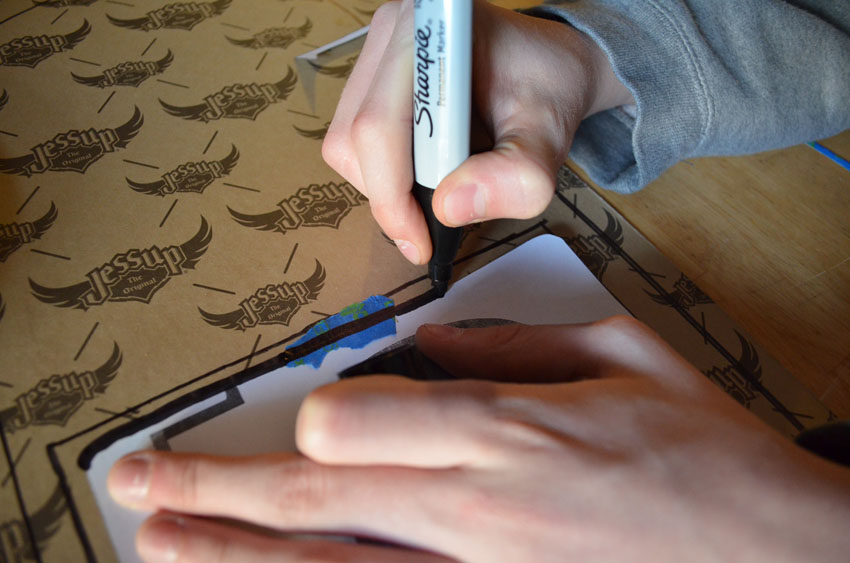
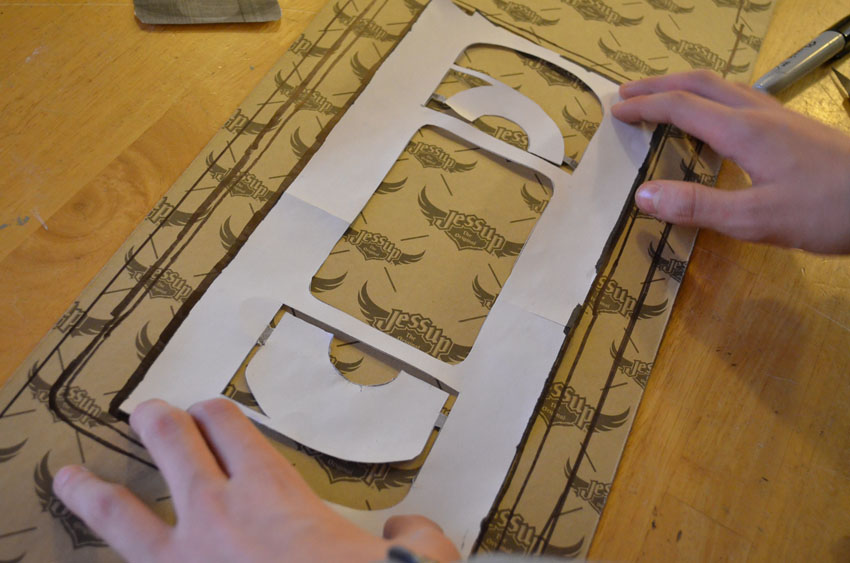
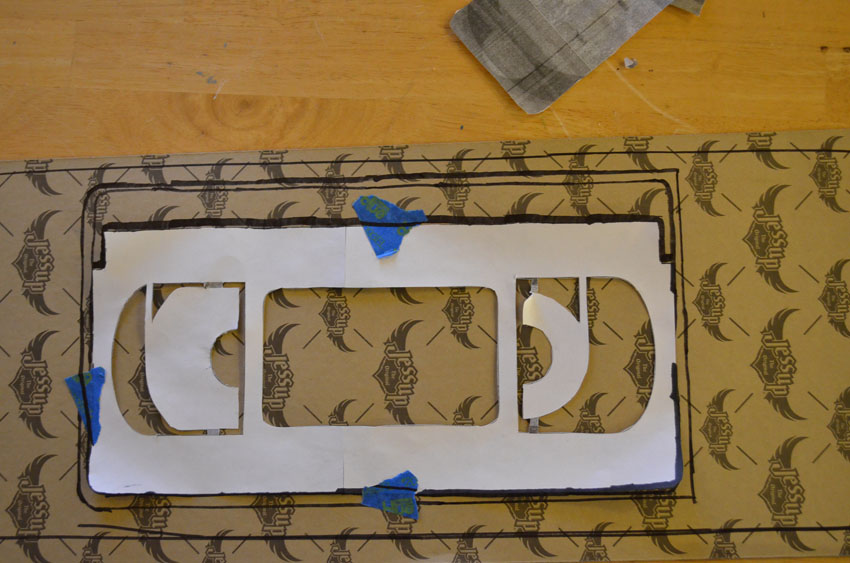
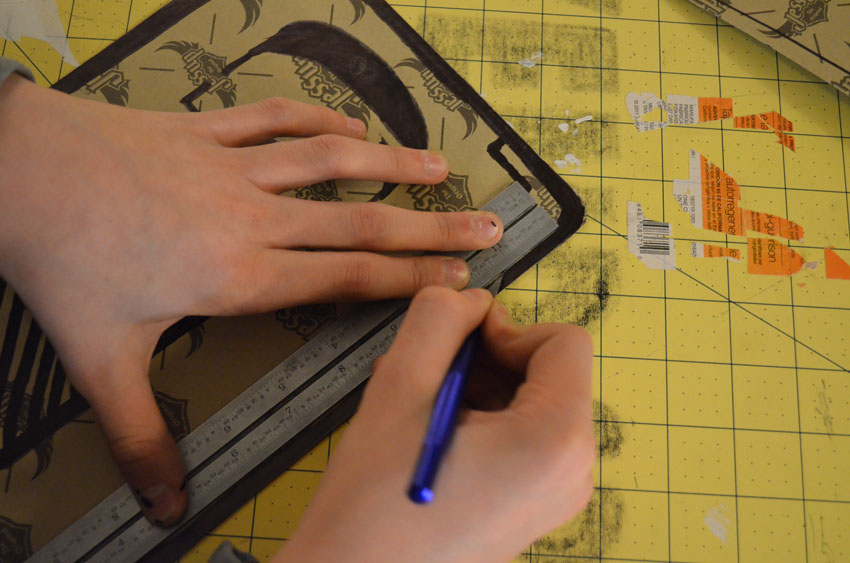
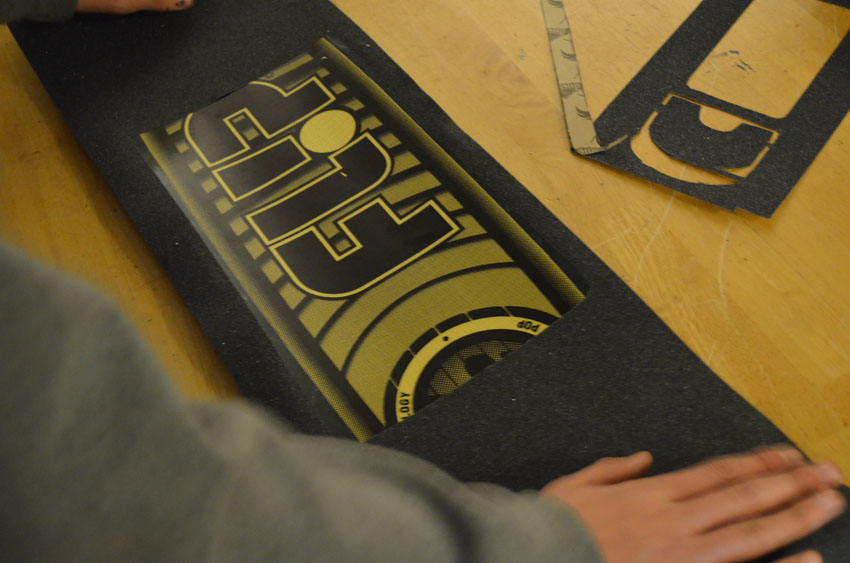
- Attach stencil to back of grip tape (don't remove backing!)
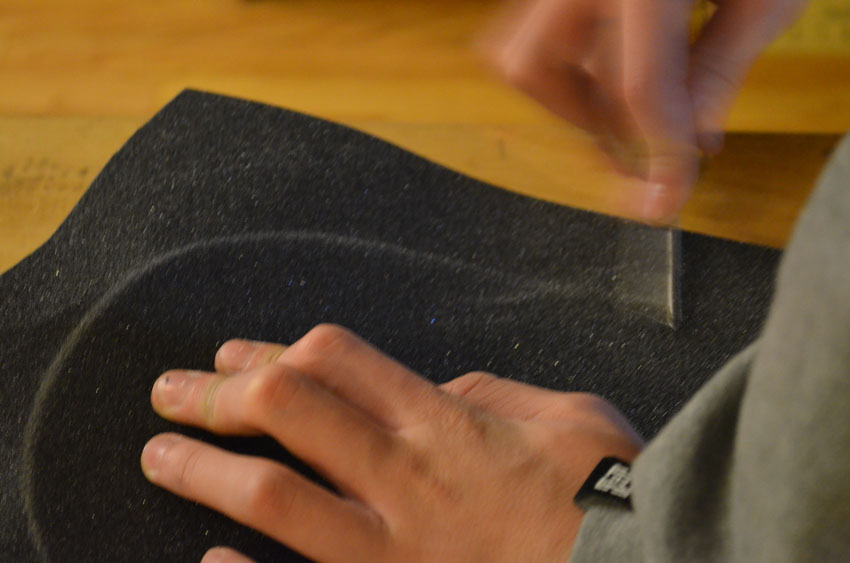
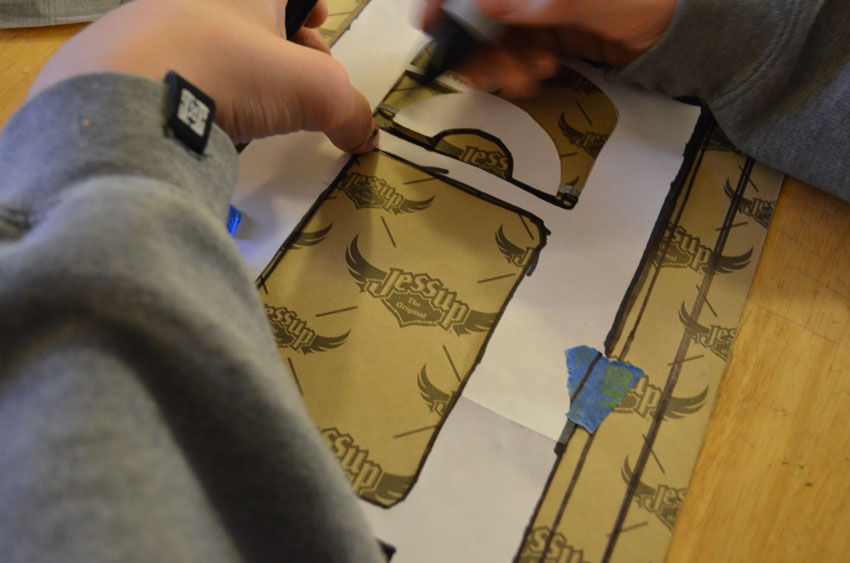
- Using stencil as a mask, use a marker to trace the stencil on to the back of the grip. Or spray paint. Be sure to check that the stencil is being applied in reverse because the pieces will be flipped over when you apply the grip.

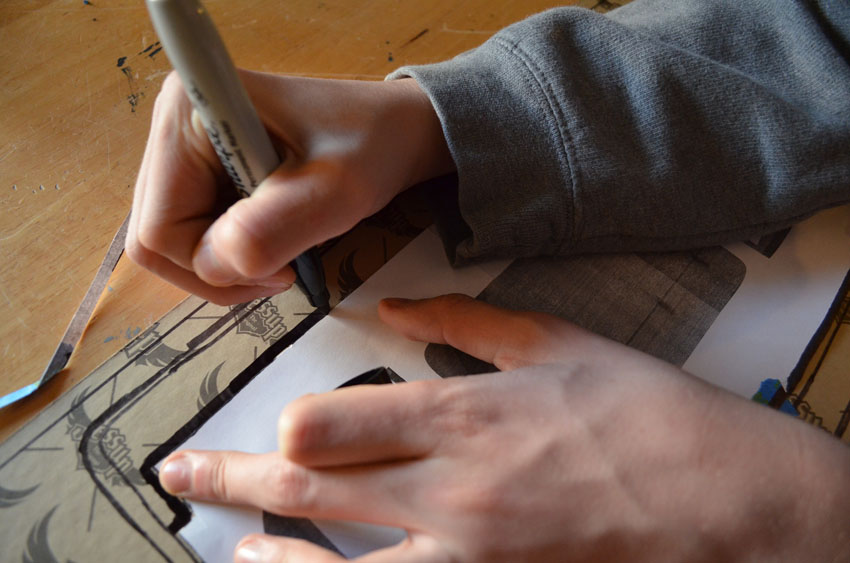
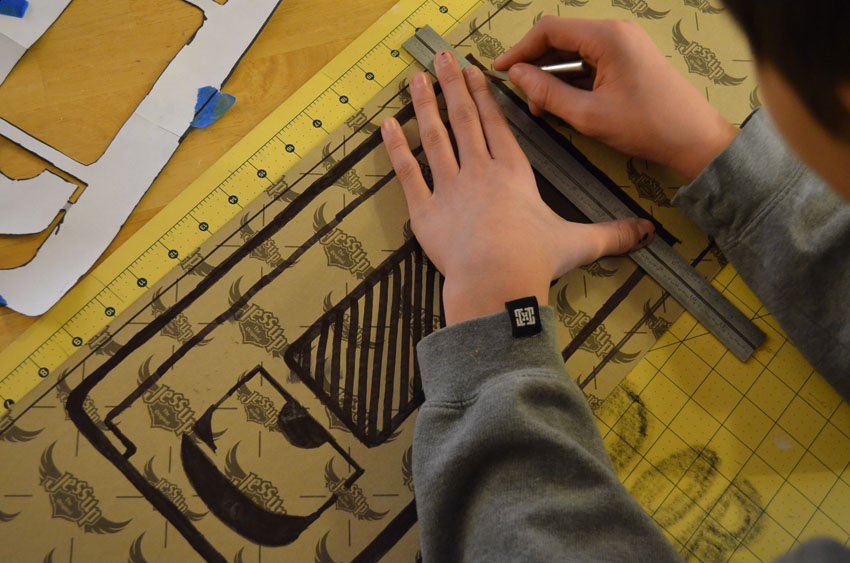
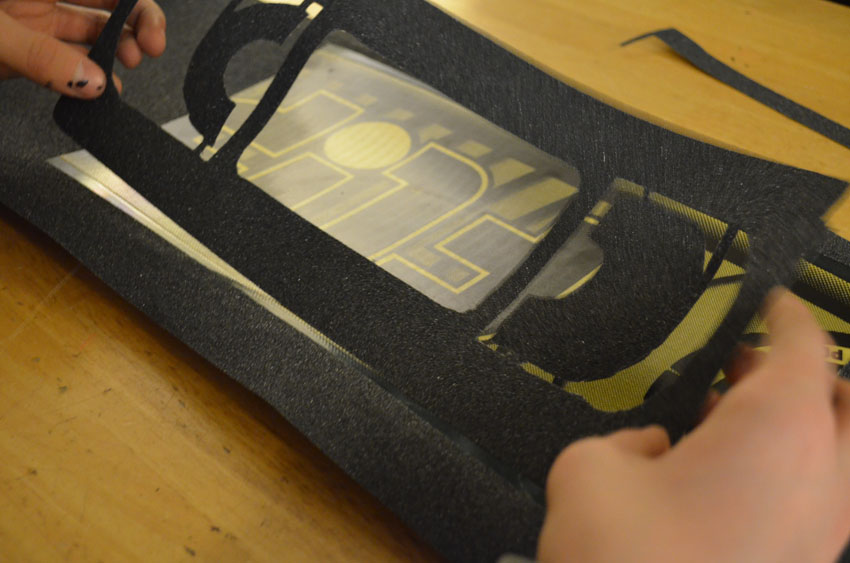
 Now trim away the black outer line. This will become the gap in grip that outlines the shape. Tracing, then trimming helps to make sure that the stencil is easy to line up.


Cut the grip
Note: If you purchased pre-cut grip from us, you can skip to "Apply the grip".
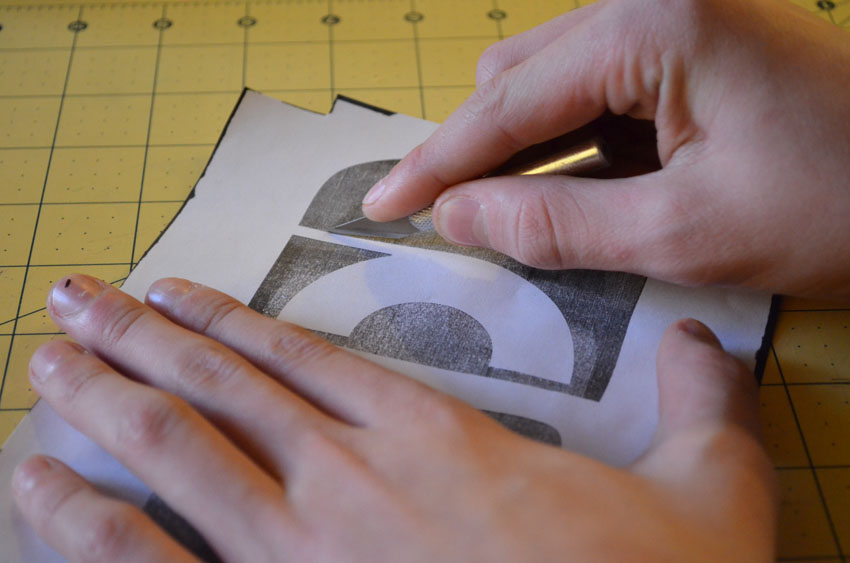
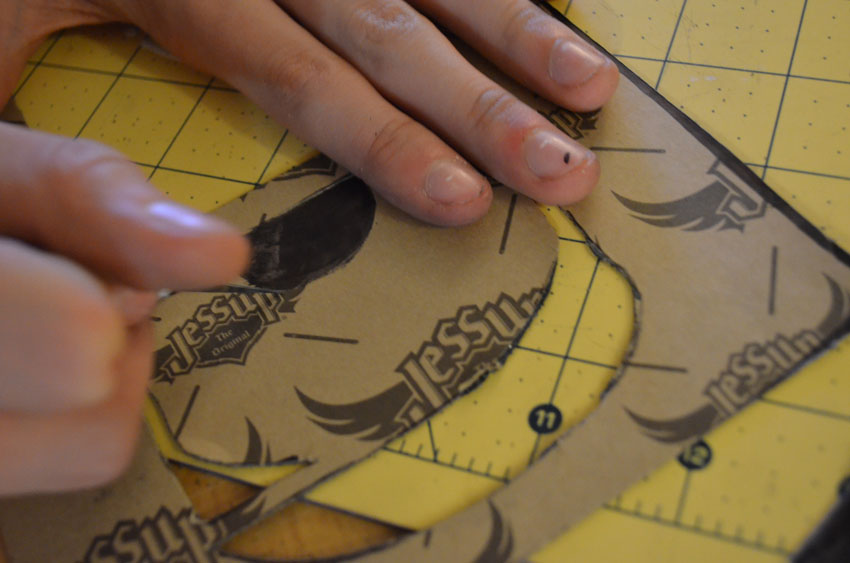
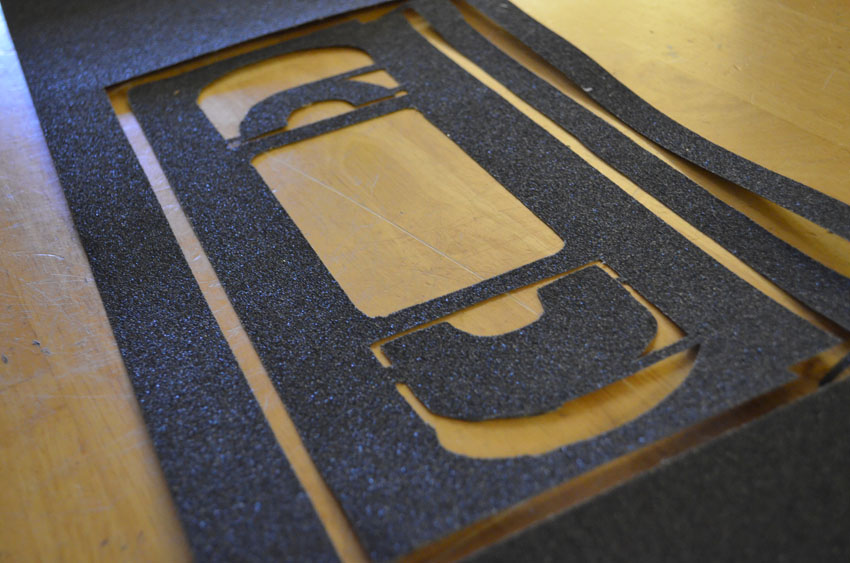
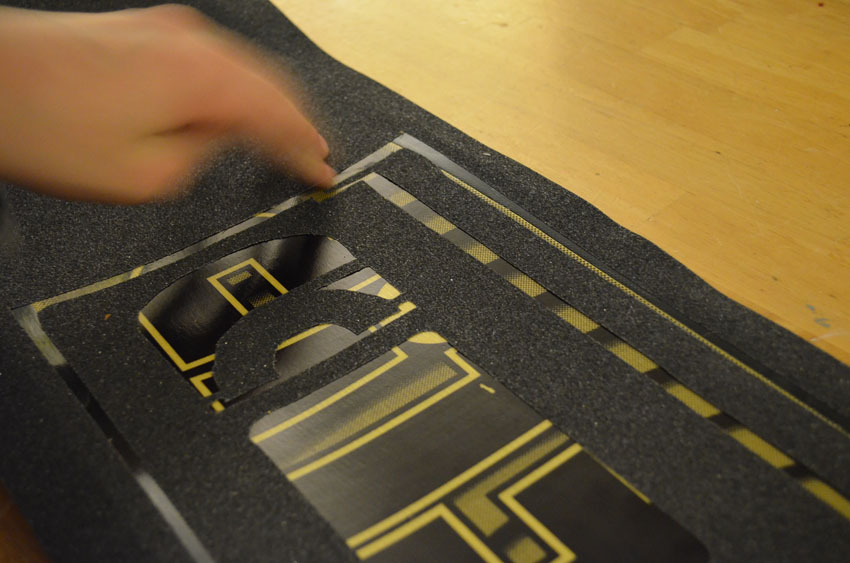
- Using a hobby knife, carefully cut and remove the pieces of the stencil that will be used for the grip. Take it easy on the pressure and make multiple passes over a line to cut through the grip. This will give you better accuracy and cleaner cuts.
Apply the grip
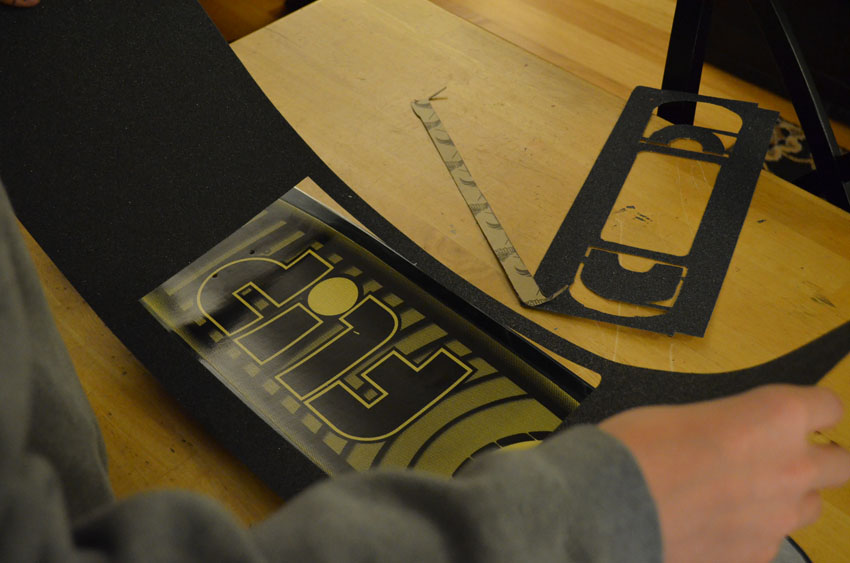
- With the adhesive backing still on, lay out the grip so you can get the idea for your finished grip job.
- Depending on the style of art, you'll either some large pieces of grip with the design knocked out, or you'll have a bunch of small pieces that you'll assemble in to the artwork. Machete Grip design pages show how the grip looks when applied.
- Many pieces:
- Working carefully, choose a large recognizable piece and float that on first with the adhesive backing on, then remove backing and apply.
- Then apply pieces around it, making sure to continually reference the completed design so you know how much space to put between the pieces and where they go.
- One large piece of grip:
- Remove the backing and hold the short sides of the grip above deck in the shape of a taco.
- Then lower the center of the grip down first, then lay down the rest from the center outward.


Done! Now all that's left is to soften define the edge with a file or screw driver, then carefully follow the blade around the board keeping flat to the deck's edge.